Assistive technologyScreen readersNVDA Screen ReaderTestingTesting NVDA on a Mac

By: NV Access
Website: nvaccess.org
Pricing: free, donations
Bug tracker: github.com/nvaccess/nvda/issues
Testing NVDA on a Mac
Related resources:
- Overview
- Testing
- NVDA on a Mac (current)
NVDA is only available for the Windows operating system right now, but there are some good reasons why you might want to use NVDA on a Mac:
- Accessibility testing - NVDA is the most popular screen reader available today, and it’s necessary to test with it to ensure compatibility
- Considering switching to a PC - maybe you’re currently using VoiceOver but are considering a switch
Luckily, it’s possible to use NVDA on macOS using a variety of techniques.
Remote Testing With Assistiv Labs
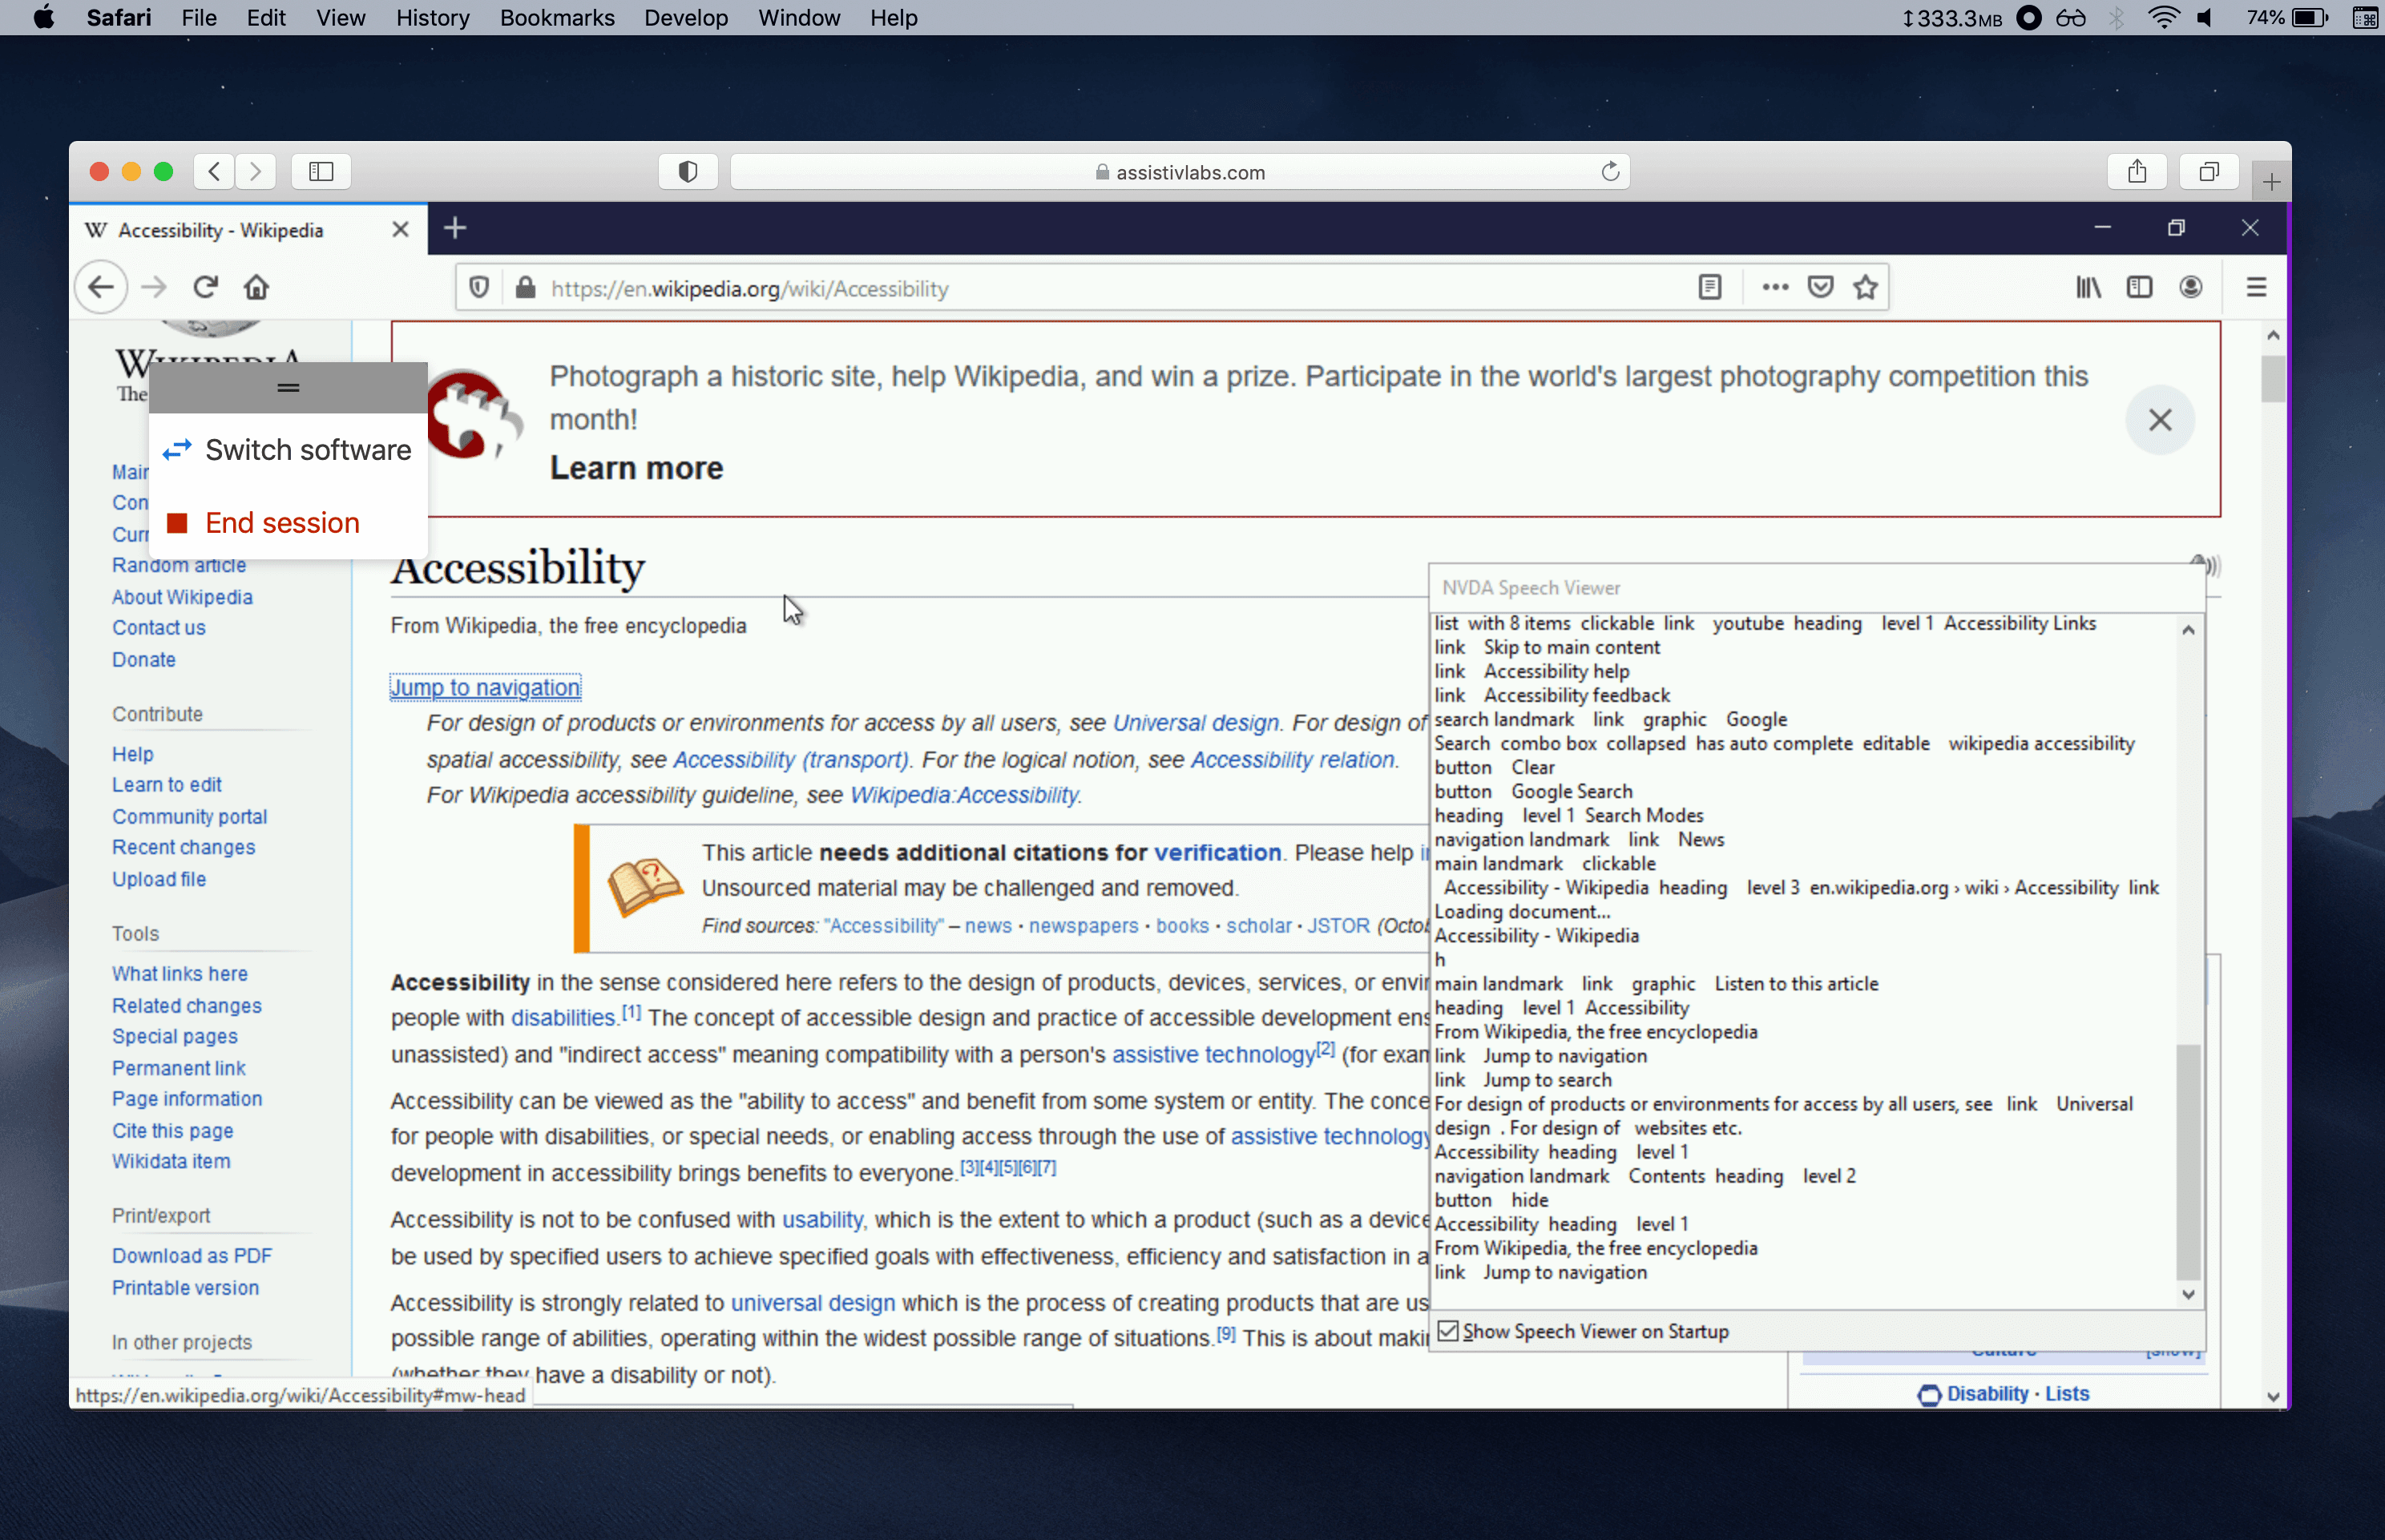
Assistiv Labs is an online service that allows you to access a real copy of NVDA running on Windows remotely, through any modern web browser, like Safari or Chrome.
- All keyboard shortcuts are remapped, enabling all NVDA commands
- Ephemeral sessions ensure you always start with a consistent, reproducible environment
- Seamlessly access localhost and VPN-only websites with AssistivTunnel
- High performance remote connection streams audio and video with low latency
- Easily scale access to your team or company
In less than a minute, you can start testing. Every new account comes with a 14 day free trial, and plans start at $19 / month.
How does keyboard shortcut remapping work in Assistiv Labs?
Since Mac and PC keyboards differ and screen readers like NVDA require many keyboard shortcuts that include keys only present on PC keyboards, Assistiv Labs provides seamless remapping. By default, hold down your Mac's left-hand shift + option keys as a substitute for insert. Explore all the options in the Show Mac to PC keyboard settings section of assistivlabs.com/dashboard.
Apple Bootcamp
If you’re thinking of buying a PC and want to try NVDA as your daily driver, Apple Bootcamp is a great solution. Bootcamp allows you to install Windows directly onto your Mac, without any virtualization, which gives you a good feel for NVDA's performance and responsiveness.
You'll need a Mac from 2012 or later (except 2015 for MacBooks), at least 64GB of free storage, an x64 Windows installer (or ISO disk image), and a 16GB flash drive (not required by newer Macs).
To get started, use the Boot Camp Assistant app, which works with VoiceOver. It will help you create a hard disk partition for Windows, select the Windows installer, then reboot your Mac into the Windows installer experience. Here's the full instructions from Apple.
Unfortunately Windows setup doesn't make a sound to alert you when it's finished loading and needs your input. After a minute or two, start Narrator (the built-in Windows screen reader) using control + win + enter (on your Mac keyboard, the WIN or Windows key is mapped to command). Microsoft Accessibility has a video walk through (with audio descriptions).
Once Windows is installed, and the Windows Boot Camp Utility has finished installing drivers for audio and Wi-Fi, you can download NVDA and configure it.
But you're not quite finished — unless you have a full sized PC keyboard with an insert key connected.
All the Windows screen readers (NVDA, Narrator, and JAWS) use either the insert key or caps lock as a modifier key. Since Apple doesn't include an insert key on its laptop or full sized keyboards, the only option is caps lock, but unfortunately Mac keyboards send key events for caps lock differently than PC keyboards.
Mac keyboards treat caps lock as a mode that's toggled ON or OFF, instead of a key that can be pressed, held down, and released. The net effect is that even though you're physically holding the caps lock key down on the keyboard, screen readers like NVDA think that it's already been released, preventing you from executing your intended keyboard shortcut.
To work around this, install a Windows utility called SharpKeys and remap a different key to insert.
Virtual Machines
An alterative to natively installing Windows with Bootcamp is to use virtualization tools to run Windows in a virtual machine (VM) within MacOS. Popular tools include Parallels, VirtualBox, and VMware Fusion. This approach is very convenient if you only need to briefly test a bug in NVDA.
The same caveat about caps lock applies to VMs, but with a few more tools it is possible to get caps lock working correctly with the VM.